How to create CSS Labels?
Print
Modified on: Sat, 3 Sep, 2022 at 5:56 PM
1. Label Name
From your desk, go to the Labels >Create a New Label > Label Name section
Now click and the write label name as your choice
Hit on the Save Settings button

2. Select Label Type
From your desk, go to the Labels >Create a New Label > Select Label Type section
Now click and select the CSS label
Hit on the Save Settings button


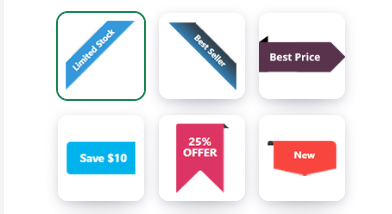
3. Select Label
From your desk, go to the Labels >Create a New Label > Label section
Now click and select the label as your choice
Hit on the Save Settings button

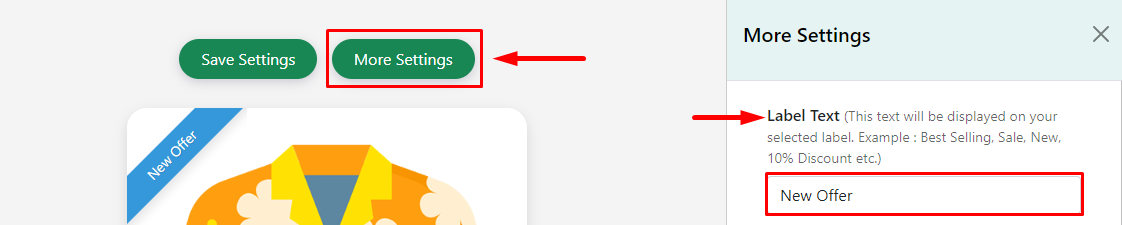
4. Enter Label Text
From your desk, go to the Labels >Create a New Label >More Settings section
Now click and write the text as your choice
Hit on the Save Settings button

5. Select Label Position
From your desk, go to the Labels >Create a New Label > Placement section
Now click and select the position as your choice
Hit on the Save Settings button


6. Label Background color
From your desk, go to the Labels >Create a New Label >More Settings section
Now click and select the color as your choice
Hit on the Save Settings button


7. Label Text Color
From your desk, go to the Labels >Create a New Label >More Settings section
Now click and select the color as your choice
Hit on the Save Settings button


8. Label Transparency
From your desk, go to the Labels >Create a New Label >More Settings section
Now click the pointer and drag to set transparency as your choice
Hit on the Save Settings button


9. Select Label Font Size
From your desk, go to the Labels >Create a New Label >More Settings section
Now click the pointer and drag to set font size as your choice
Hit on the Save Settings button


10. Display Label on
From your desk, go to the Labels >Create a New Label >More Settings section
Now click and select a page as your choice
Hit on the Save Settings button


11. Label Status
From your desk, go to the Labels >Create a New Label >More Settings section
Now click and select status as your choice
Hit on the Save Settings button


12. Enter custom CSS
From your desk, go to the Labels >Create a New Label >More Settings section
Now click and write the CSS as your choice
Hit on the Save Settings button


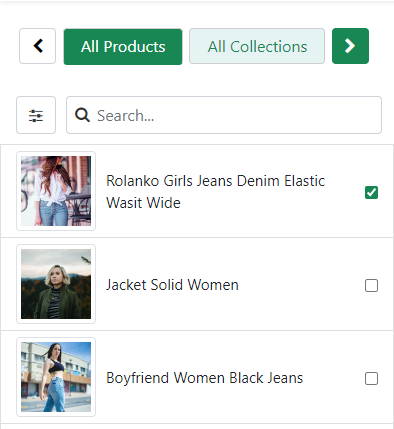
13. Select Products
From your desk, go to the Labels >Create a New Label >All Products section
Now click and select the Products as your choice
Hit on the Save Settings button

14. Select Collections
From your desk, go to the Labels >Create a New Label >All Collections section
Now click and select the Collections as your choice
Hit on the Save Settings button


Did you find it helpful?
Yes
No
Send feedback Sorry we couldn't be helpful. Help us improve this article with your feedback.