
Follow this guide to set up your very first course, connect it to a product, and configure student settings.
Step 1: Open the Course Creation Page
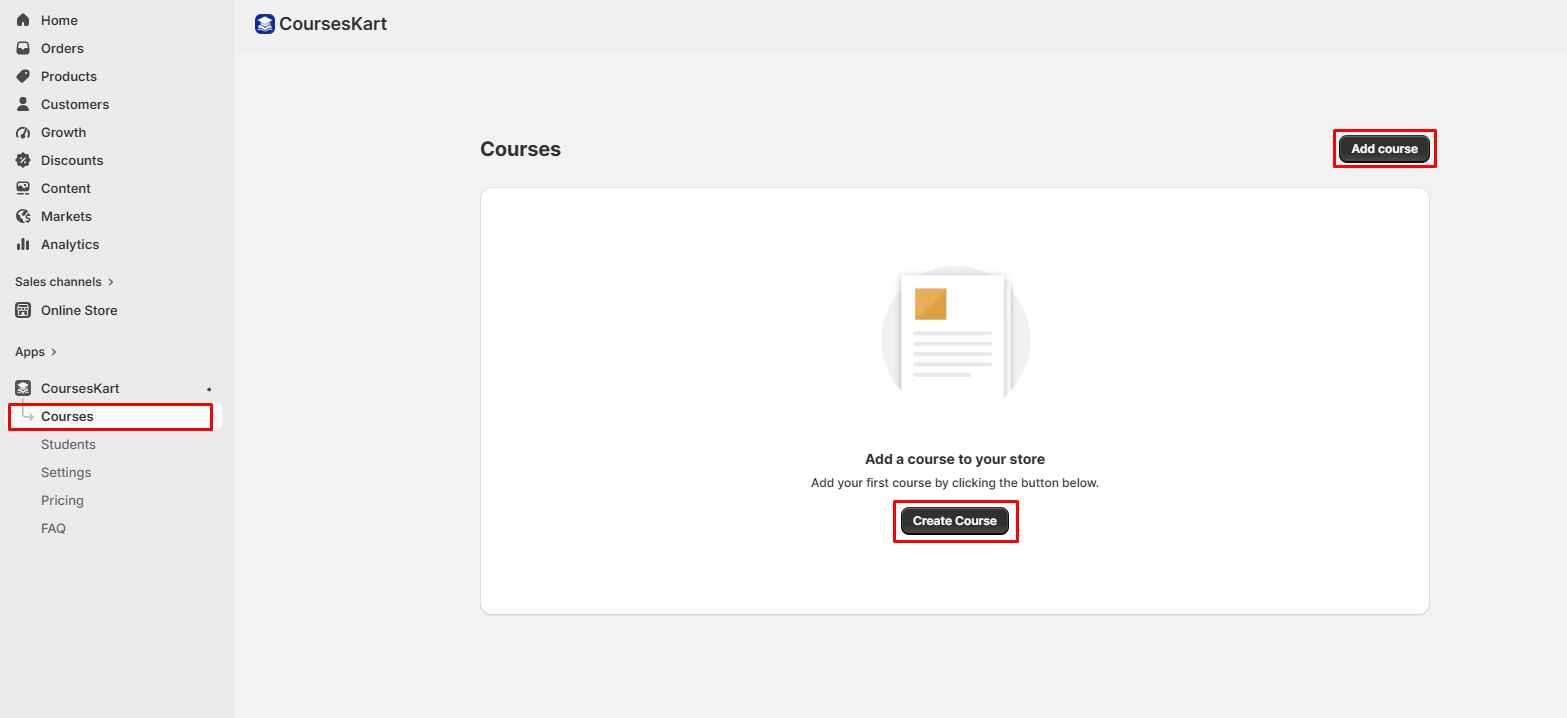
- Navigate to your dashboard side menu.
- Click on Apps and select CoursesKart.
- Click on the Courses sub-menu item.
- Click either the black Add course button in the top right corner or the Create Course button in the center of the page.
Step 2: Assign a Product to Your Course
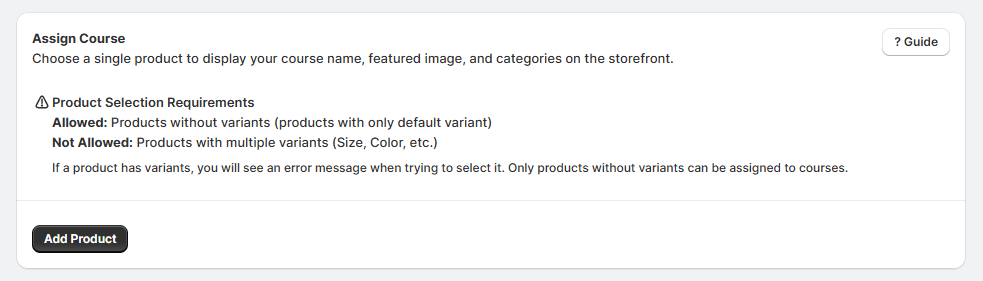
- Look for the Assign Course section at the top of the form.
- Click the black Add Product button to link a product from your store.
- Important Requirement: You can only select products without variants (products with only a default variant). Products with multiple variants like size or color are not allowed and will display an error.
Step 3: Configure Bundling (Optional)
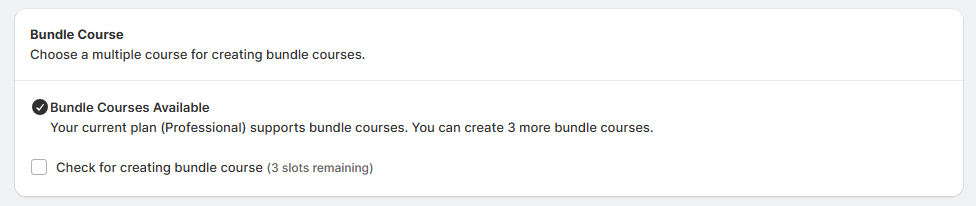
- Go to the Bundle Course section.
- If you want to bundle multiple courses together, check the box that says Check for creating bundle course.
- Note: Your plan limitations will show here (e.g., "Professional plan supports 3 more bundle courses").
Step 4: Set Access & Visibility
- Scroll down to the Access & Visibility card.
- Choose one of the two options:
- Free: Select Public for everyone if you want anyone to access it without needing a login.
- Paid: Select Private if this is a premium course linked to a purchase.

Step 5: Setup Automation and Features
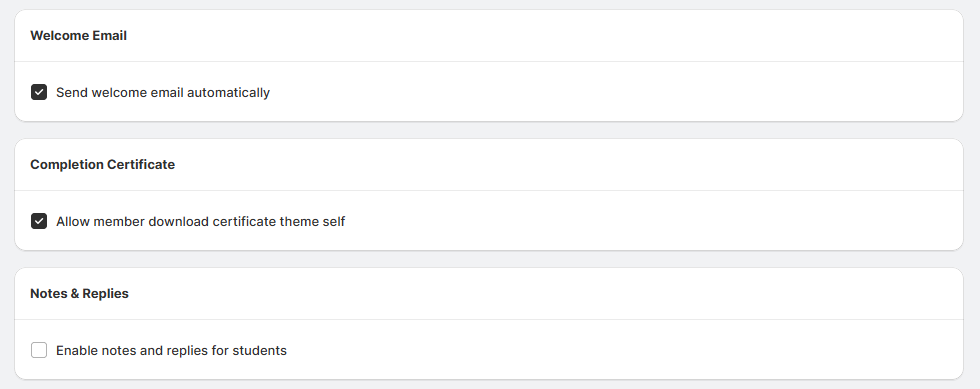
- Welcome Email: Keep the Send welcome email automatically box checked to greet students instantly when they join.
- Completion Certificate: Check Allow member download certificate theme self if you want students to receive a certificate upon finishing.
- Notes & Replies: Check Enable notes and replies for students if you want to allow an interactive discussion area inside the course.
Step 6: Define a Minimum Passing Score
- Go to the Minimum Passing Score field at the bottom of the page.
- Type in the minimum percentage required to pass any quizzes or assessments (for example: 36%).
- Save your settings to publish or draft your course.
