How to use the Store Locator app in a step-by-step?
Print
Modified on: Tue, 2 Jan, 2024 at 4:48 PM
In this tutorial, we will explore the basics of the steps of the Store Locator App. Whether you are a beginner or an experienced app user, this guide will help you set up the app in your store.
First of all, thank you so much for using the app, if you are new, you are here in Wix Editor with our Map, otherwise, you can use the "Go To Wix Editor" Menu button in the app.
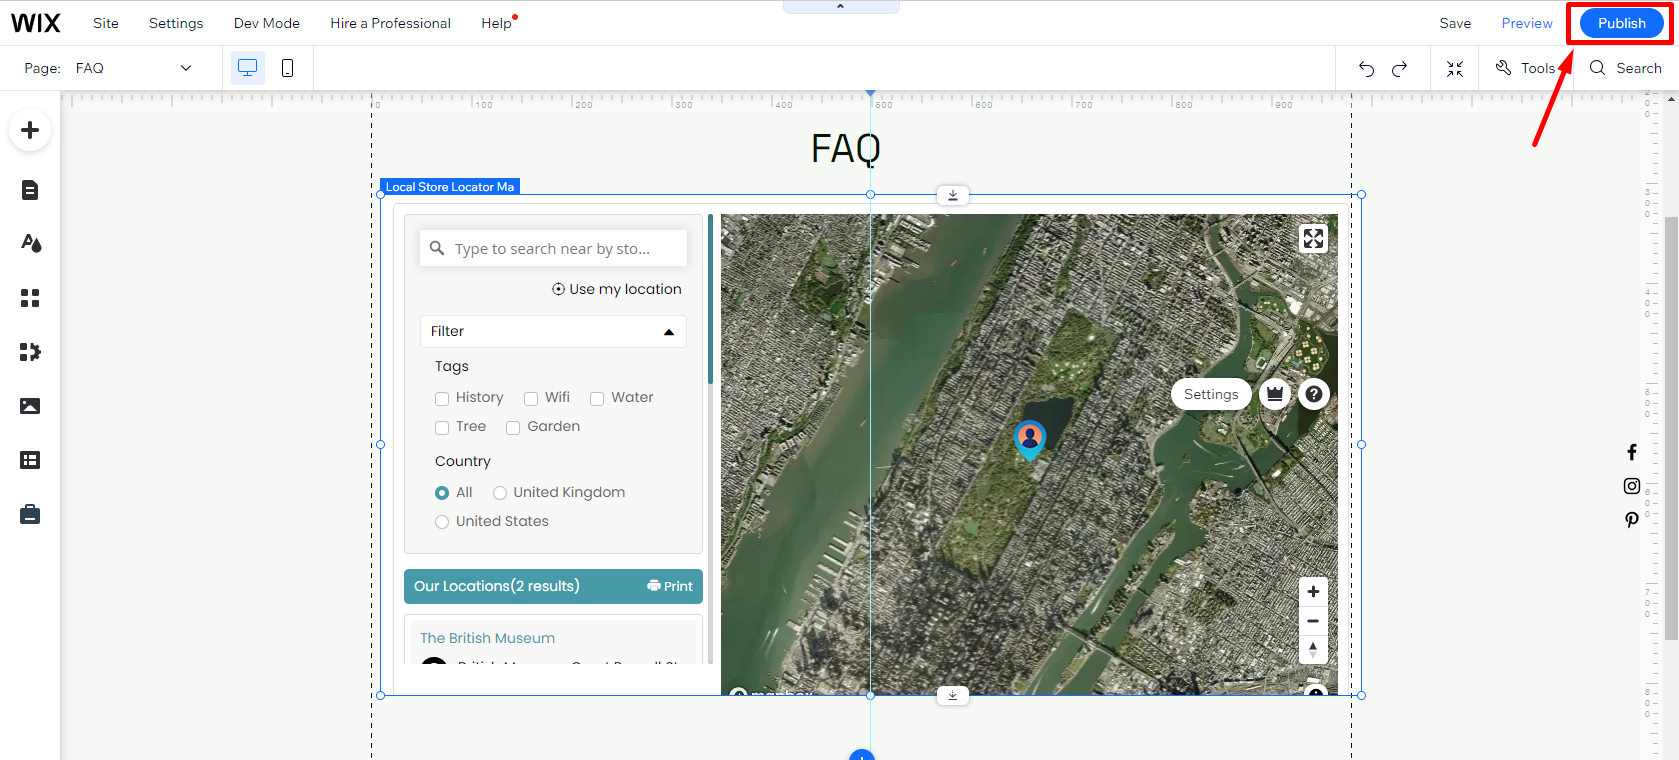
Here, you can set the page and place that you want to add the Map.
Next, click on the "Publish" button to live the Map to the store.
Now the Map will be displayed in the store. next, you need to customize the store locations in the app, so don't wait, and follow the below steps:-
First, Go to the App Dashboard and click on the Settings button.
Now add the Map Box Access Token in the Mapbox Access Token Box.
Afterward, manage the General Setting, Color Settings, Map Style, Layout, and Map Marker Icon settings.
To preserve the modifications, click the "Save Settings" button.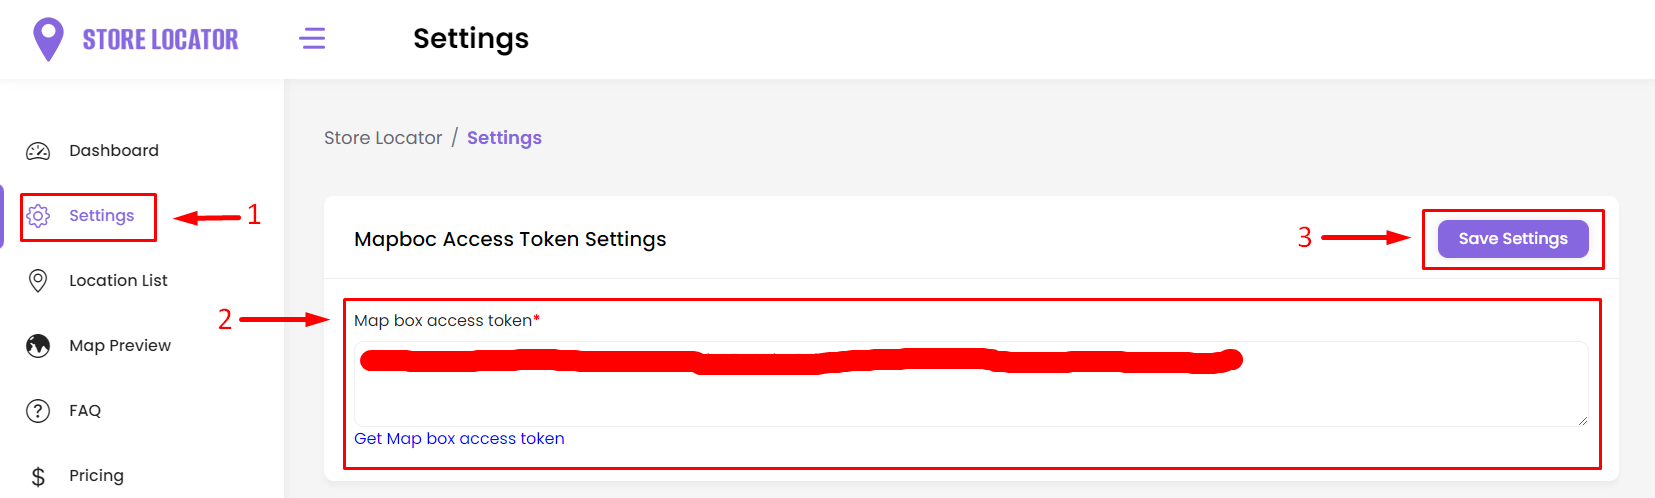
Once you've finished configuring the settings, it's time to add the store's locations. Follow the steps below:-
From your side, go to the Location List Menu.
Here, you can add the location through the Add location or Import location.
Click on the Add Location and customize the Settings according to your preferences.
Subsequently, select the "Save Location" button to apply and save the changes.
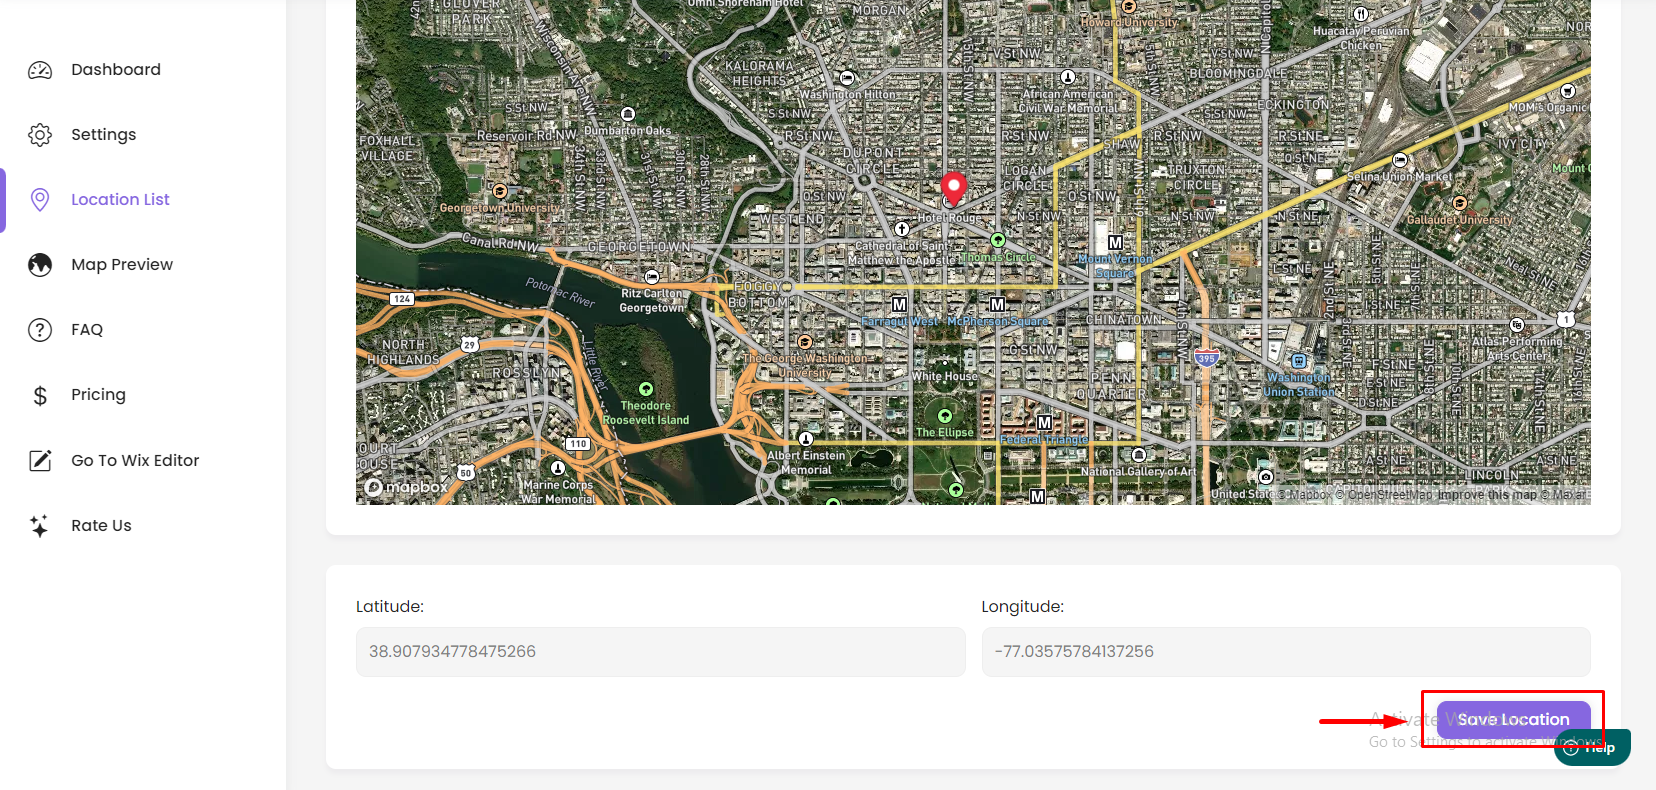
Now your added Location will show on the Map of your store.
Did you find it helpful?
Yes
No
Send feedback Sorry we couldn't be helpful. Help us improve this article with your feedback.